Create a new workflow
Overview

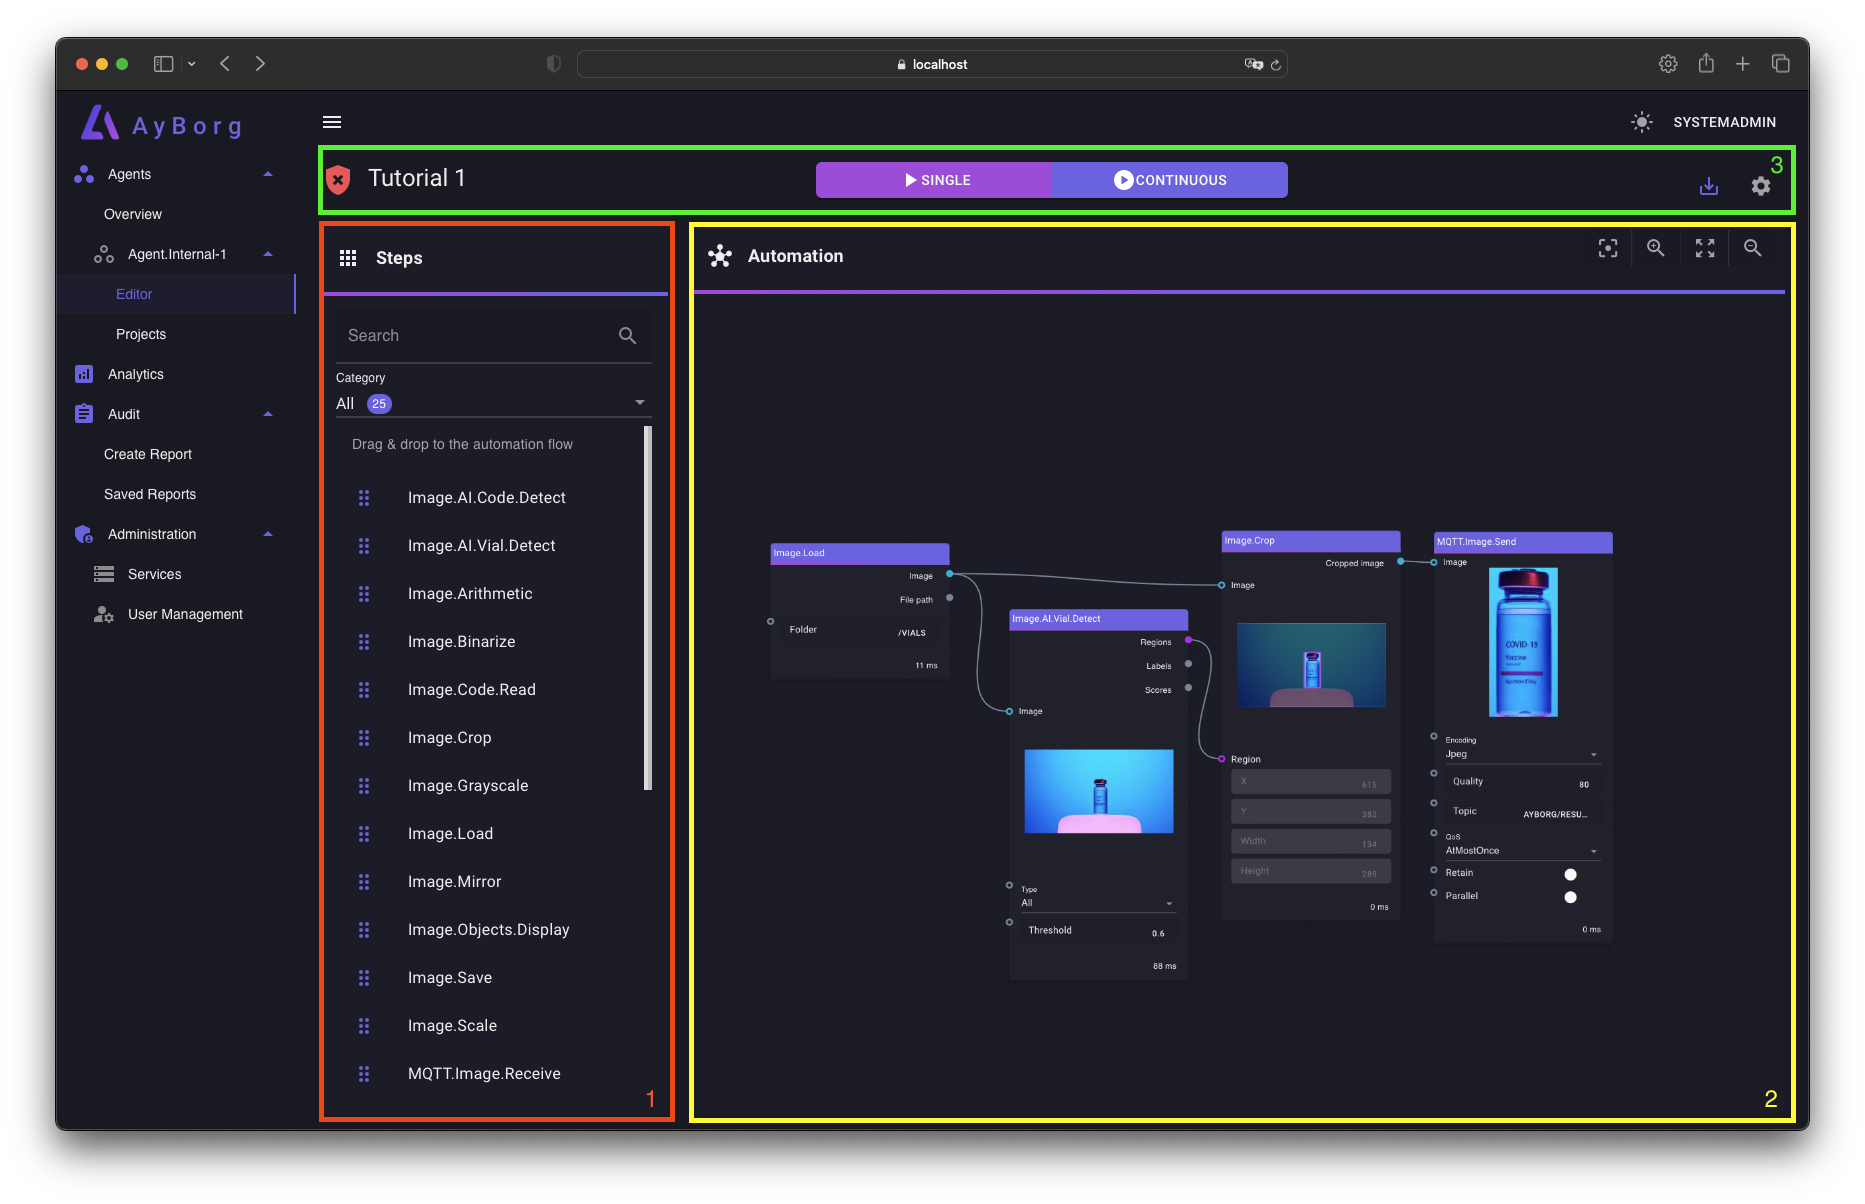
The editor is divided into three components:
- Steps Selection
- A collection of all available steps (plug-ins)
- You can filter by step categories
- You can search for a specific step
- Automation Flow
- This is where you can graphically develop your automation workflow
- Steps are dragged from the Steps Selection into the Automation Flow
- Steps can be added, moved and deleted as needed
- Steps are connected to one another with their property ports
- Runtime Toolbar
- Project name (left)
- Automation workflow execution control (center)
- Project save and project behavior control (right)
Tutorial
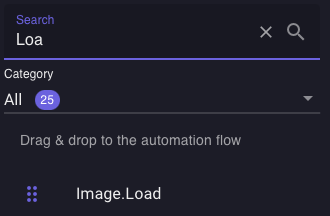
- Search for the step of interest (1)

- Drag it to the Automation Flow (2) and drop it there
- A step can be removed by selecting it and pressing the DEL key
- Alternative you can select the step and klick on the Delete button

- Repeat steps 1-2 for all required plug-ins
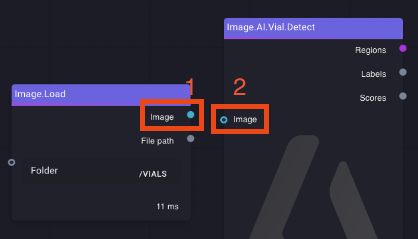
- Connect the ports that you would like to transfer from one step to the next

- Only output ports (1) can be connected to the input ports (2)
- You can also connect ports of different types together, as long as they are convertible. AyBorg will inform you if they are not convertible.
- A single output port can be connected to more than one input port
- You can remove a port connection by selecting the port wire and pressing the DEL key
- Repeat step 4 for each port you want to connect
- Adjust the property values as needed
- Only input ports that are not connected/linked can be changed manually
- You can also get a more detailed view of the selected step by clicking the Full Screen button

- Click the Continuous button on the Runtime Toolbar (3)

- Now you can repeat step 6 while the automation workflow is running and see the results of your changes in real time
- When you are satisfied with the results, save the project by clicking the Save as draft button on the Runtime Toolbar (3)
See also the video tutorial: